

My home-baked bread loaves were going moldy very quickly (sometimes within 2-3 days) and I wanted to do something about it.
Obvious potential solutions
Passive ventilation
This bread bin didn’t have any ventilation at all, so I started by adding some holes in it. This helped, but I was still finding relative humidity was often over 85%, which I suspected was too high.
In the spirit of over-engineering a solution, I found a research paper1 about bread spoilage:
The excessively humid atmosphere (89.9% rh) dramatically provoked the growth of molds. […] Further, the occurrence of high humidity due to inappropriate wrapping materials or container design was found to promote microbial spoilage. Consequently, both factors should be considered when designing suitable storage methods for bread.1
Reduce storage time
Another obvious mitigation is to eat the bread faster, or freeze slices (which works well for toasting).
Active ventilation
I decided to set up an active ventilation system. Running a fan all the time would make humidity far too low, causing the bread to go stale and dry very quickly, so I built a controllable fan system.
Hardware
Items
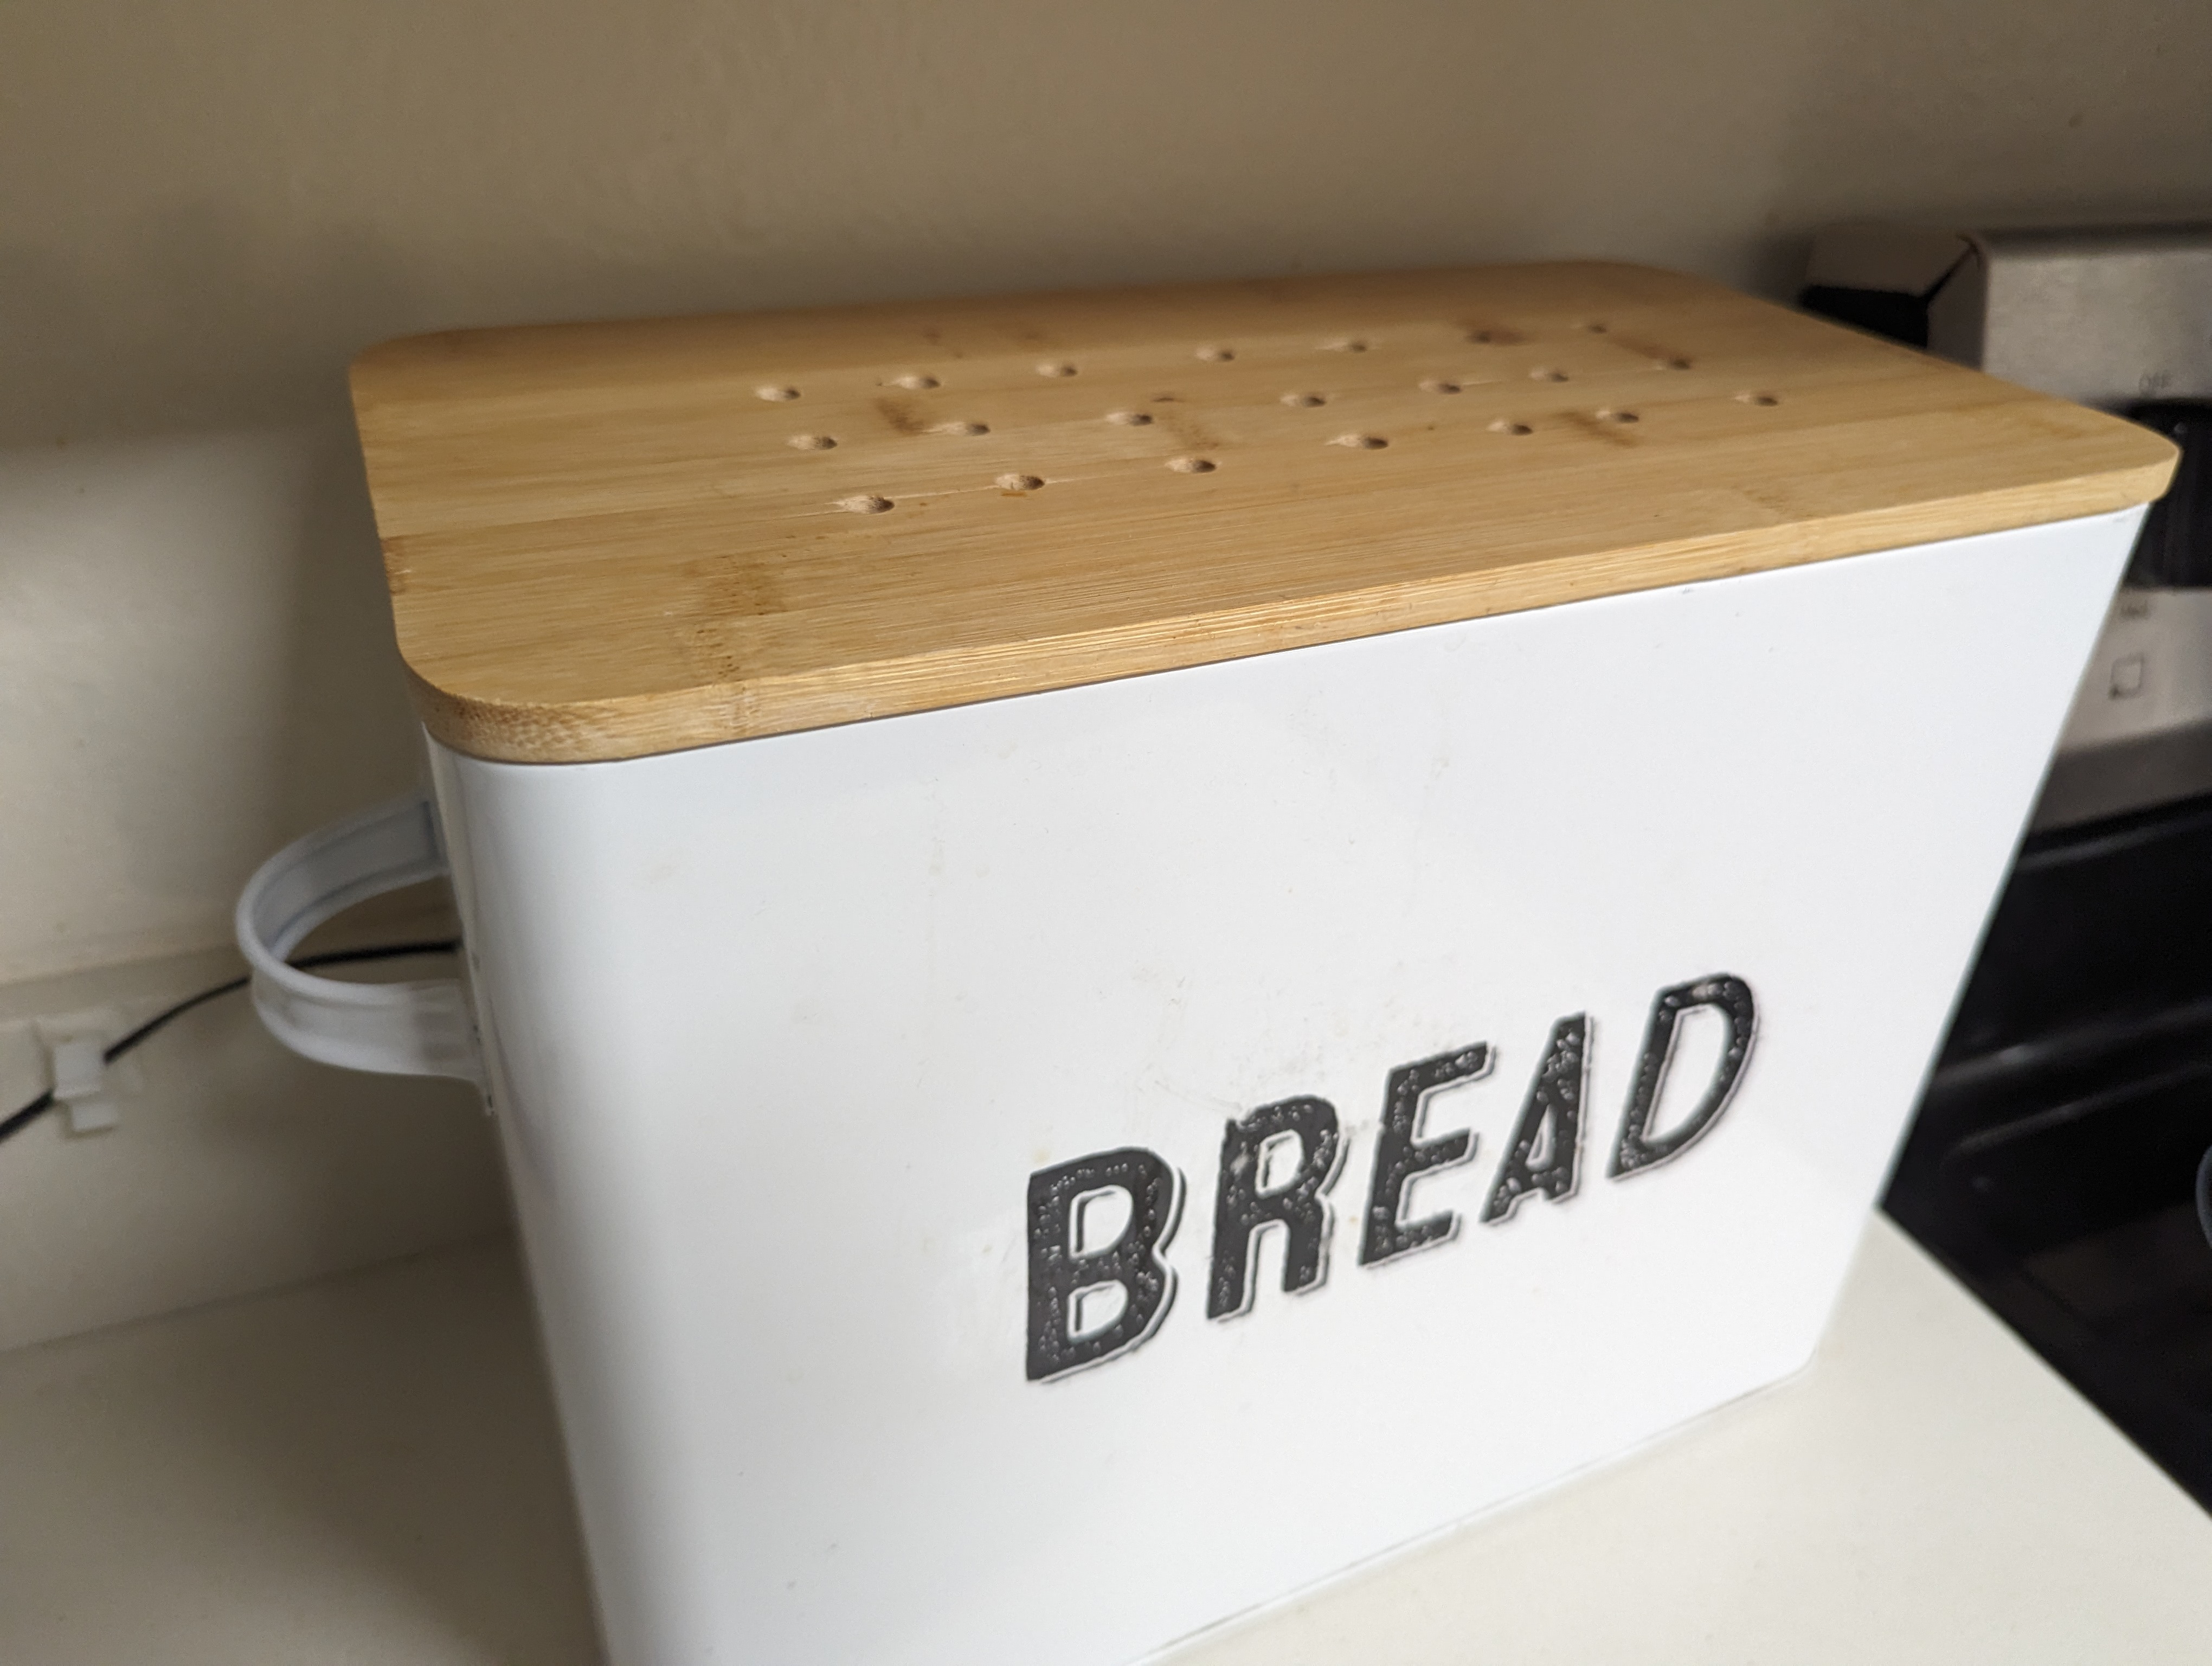
- Any bread bin (I’m using this one)
- Raspberry Pi (or other computer with Bluetooth and WiFi)
- 5V DC Fan (I used a tiny ~1 inch fan left over from a Raspberry Pi enclosure kit)
- ThermoPro TP357 BLE Digital Hygrometer/Thermometer ($12 on Amazon)
- Smart WiFi plug (I used a Kasa smart plug)
- Universal DC power supply that can do 5V ($16)
- Drill & bits for cutting whatever your bread bin is made of (and optionally a hole saw for the fan).
Assembly Steps
-
Drill some passive ventilation holes into the bread bin.
-
Create bolt holes and a circular hole for the fan. Find the right nuts & bolts to fasten the fan to the bread bin.
- If you are in the US, Ace Hardware (at least my local one) have a good selection of bolts. You can try them in-store to avoid having to measure at home and order online.
- I didn’t have a hole saw so I just made a messy hole with a circle of drill holes and knocked it out.
- I mounted my fan on the back of the bread bin and drilled holes in the top.
- NB: I recommend putting some washers between the fan and the bin - otherwise the fan blades might catch, especially if you don’t have a perfectly smooth and even edge on the hole.
-
Attach the fan - I mounted it as an extractor to create negative pressure, drawing air through the ventilation holes in the lid.
-
Connect the fan to the DC supply. I just used the screw terminal connector which is a bit ugly but works.
-
Connect the DC supply to the WiFi plug and test that it works and can turn the fan on.
-
Put the BLE sensor inside the bread bin. My bread bin is made of enameled steel, so it’s magnetic; the BLE sensor has small magnets on the back.
Software
The TypeScript/Node implementation & README for the following is on GitHub (inversion/bread-humidity-control).
Getting sensor data
The BLE sensor publishes the humidity and temperature information encoded in a GATT characteristic at a regular interval of a few seconds. There are a number of characteristics, but this one clearly varies significantly when moving the sensor from e.g. indoors to outdoors. This guide describes using gatttool to enumerate the sensor’s characteristics, and shows its published characteristic notifications in interactive mode by default. I was able to figure out the encoding for the temperature and humidity values within this characteristic data blob (see the example code).
Controlling the fan
I implemented a very basic ‘control loop’:
- Turn the fan on if humidity is above the target value.
- Turn it off if humidity is below the target value.
- If no readings have been received from the BLE sensor for 60s, turn the fan off; in practice, the BLE connection seems to be very reliable.
I spent a couple of weeks tweaking the target humidity till I was happy with the trade-off of premature staling vs. mold. This will depend on your bread’s moisture content, how quickly you eat it, and your environment. I have settled on a 75% humidity target.
NB: If the program itself crashes, then the fan will just be stuck on whatever state it was at that point. The Kasa smart plugs can be scheduled, so a failsafe of sorts might be to turn the fan off every few hours on a schedule.
Monitoring
The program pushes metrics to a Prometheus pushgateway server and is visualized with Grafana.
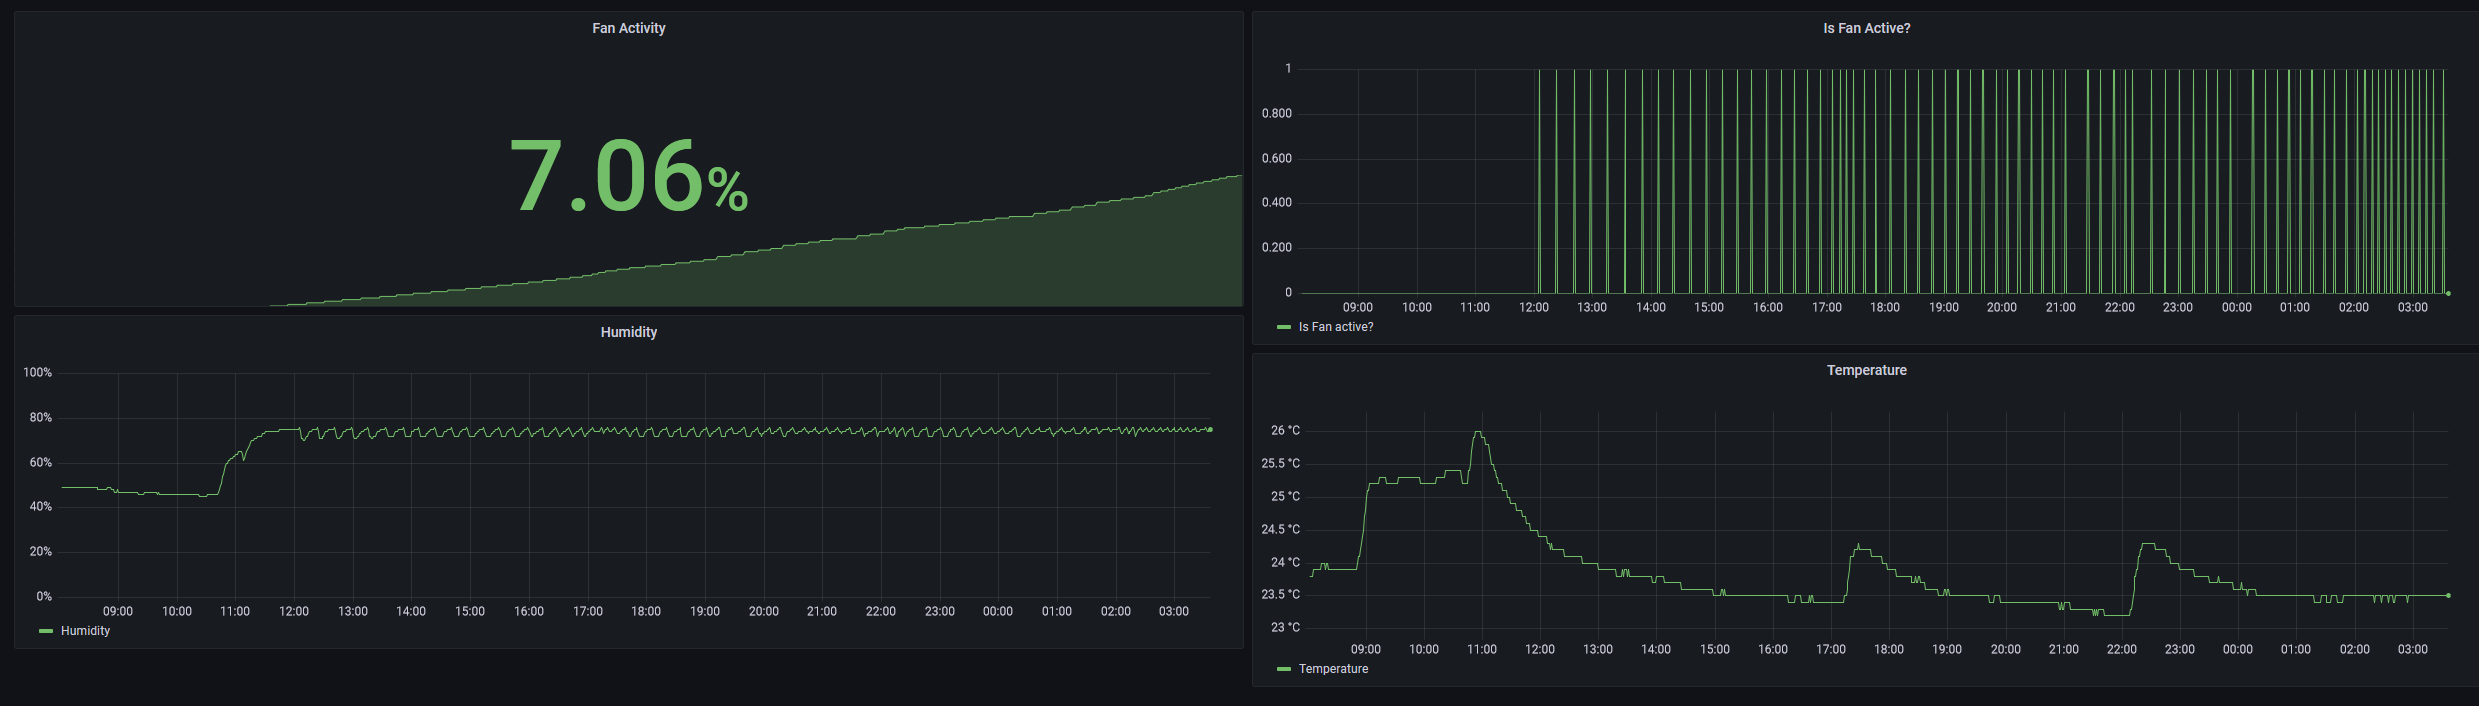
It’s noticeable that the humidity oscillates a couple of percent around the target value - a more sophisticated control loop like PID could help with stability, I haven’t experimented with this as the system works pretty well in practice.
Other tips
- Wait until the bread has fully cooled down after baking before putting it in the bread bin.
- Don’t cut the bread from both ends; put the cut side down to stop it drying out too quickly.
- Clean out old crumbs between loaves to keep mold growth down.
Further, sanitary conditions are essential for the storage of bread and represent a simply accessible way to prolong the stability of bread. 1
This is an alternative, apparently rather effective approach, complete with a fun footnote about safety… UV Mold Free Bread Box.
References
1 Impact of Storing Condition on Staling and Microbial Spoilage Behavior of Bread and Their Contribution to Prevent Food Waste (Alpers et al., 2021)